|
|
Oct 11, 2023
|
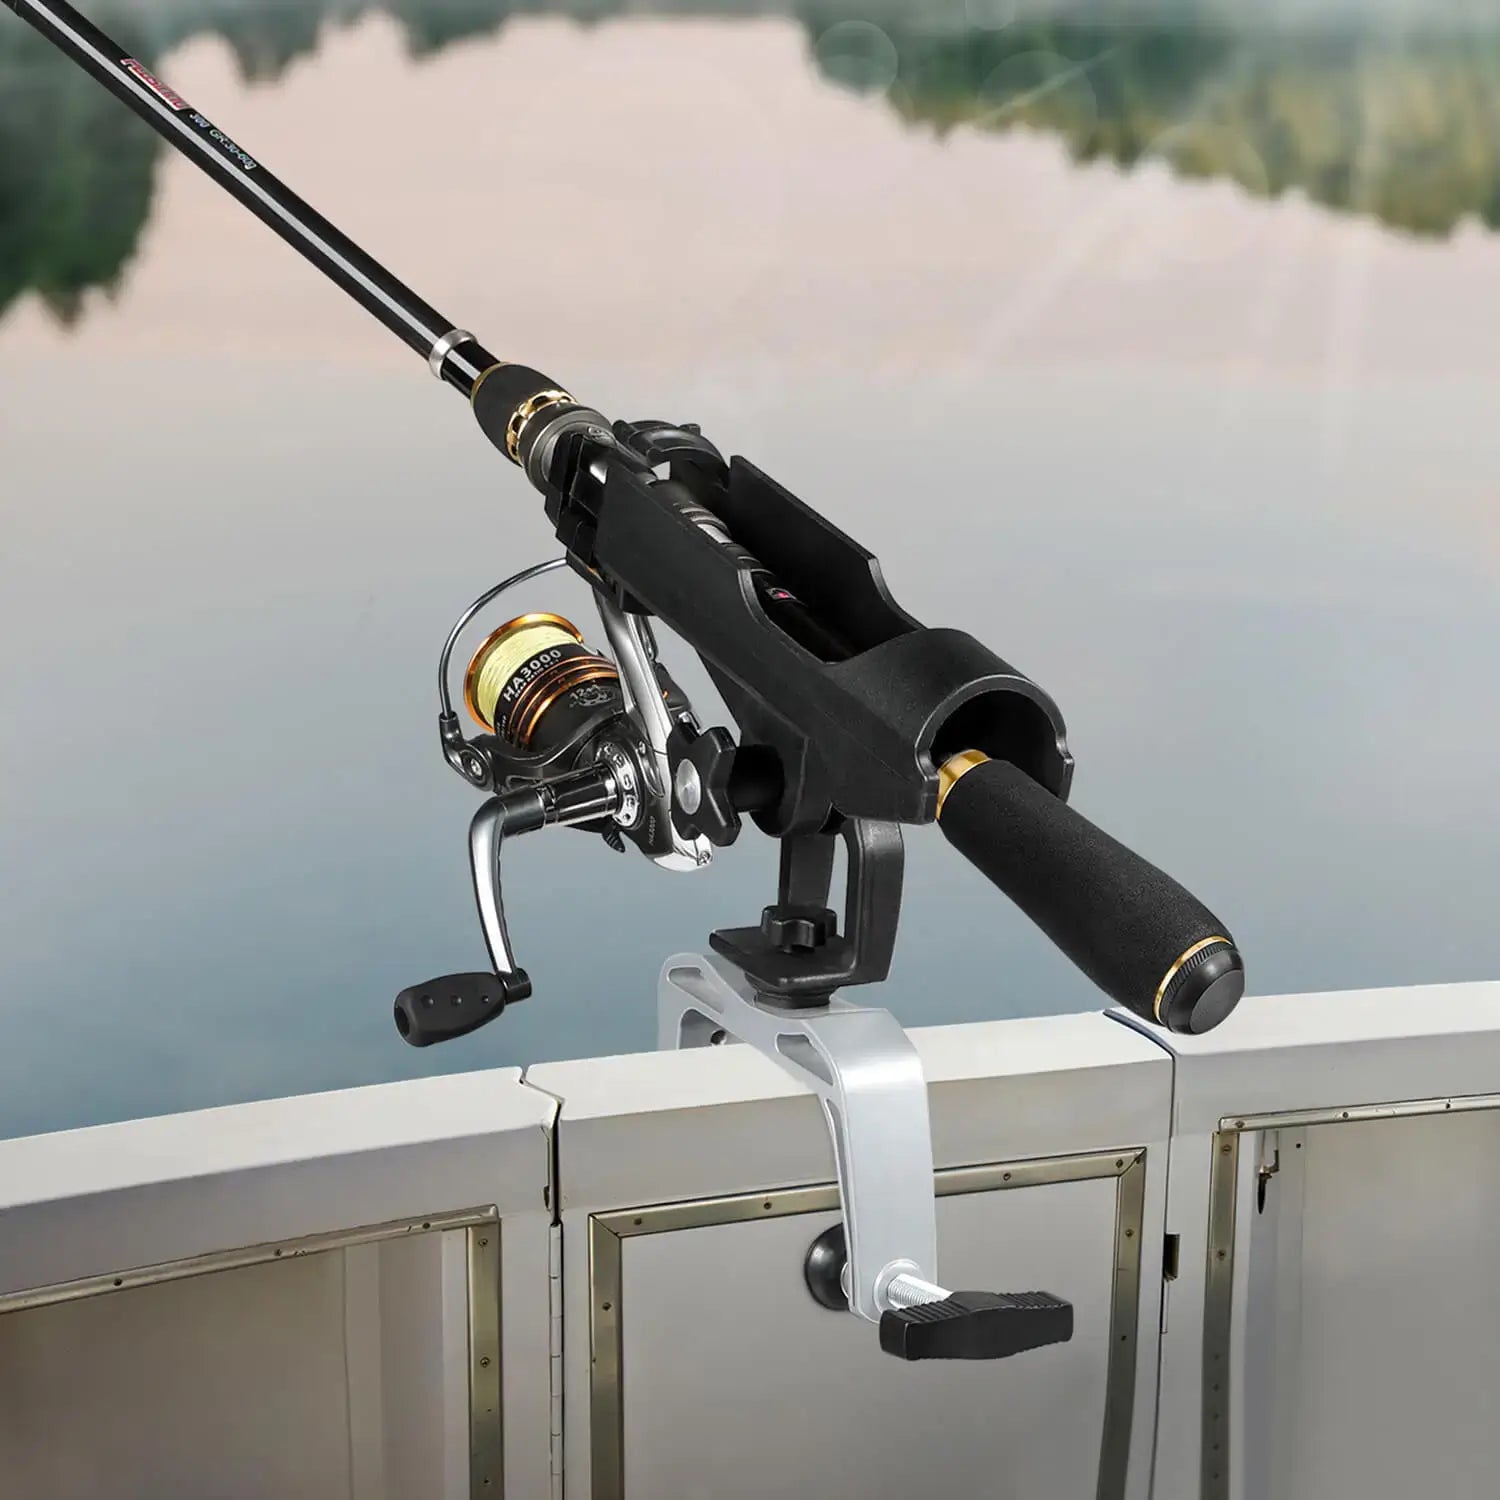
When it comes to fishing, having a reliable rod holder can make all the difference. Not only does it provide convenience and ease of use, but it also ensures that your fishing rod is secure and stable while you wait for a bite. While there are many rod holders available on the market, building your own DIY rod holder can be a cost-effective and rewarding project. In this article, we will take a deep dive into DIY rod holder projects, exploring how they can save you money while maximizing functionality.
Benefits of DIY Rod Holder Projects
Building your own rod holder offers several advantages. Firstly, it allows you to customize the design to suit your specific needs and preferences. Whether you prefer a vertical rod holder, a horizontal rod holder, or a combination of both, DIY projects give you the freedom to create a rod holder that works best for you. Additionally, DIY rod holders are often more affordable than their store-bought counterparts, saving you money in the process.
Materials and Tools
Before embarking on your DIY rod holder project, it's important to gather the necessary materials and tools. Common materials include PVC pipes, wooden boards, metal brackets, and screws. These materials are readily available at hardware stores and can be purchased at a fraction of the cost of a pre-made rod holder. As for tools, you will need a saw, a drill, measuring tape, and sandpaper to shape and assemble your rod holder.
Design Considerations
When designing your DIY rod holder, there are a few key considerations to keep in mind. Firstly, think about the number of fishing rods you plan to store. If you often fish with multiple rods, consider building a rod holder with multiple slots to accommodate them. Secondly, consider the type of fishing you engage in. If you primarily fish in calm waters, a simple and lightweight rod holder may suffice. However, if you frequently fish in rough conditions or target larger fish, you may want to opt for a sturdier and more robust design.
Step-by-Step Guide
Now that we have covered the basics, let's dive into a step-by-step guide for building your own DIY rod holder:
Measure and cut the PVC pipes or wooden boards to the desired length.
Shape the ends of the pipes or boards to create slots for the fishing rods.
Attach the pipes or boards to a base using metal brackets or screws.
Sand down any rough edges and apply a coat of paint or varnish for a polished finish.
Secure the rod holder to a stable surface, such as a boat deck or a dock.
Remember, this is just a general guide, and you can modify the steps based on your specific design and materials. The key is to ensure that your rod holder is sturdy, secure, and able to withstand the demands of fishing.
A Deep Dive into DIY Rod Holder Projects: Saving Money while Maximizing Functionality is not only a cost-effective solution but also a creative way to personalize your fishing experience. By building your own rod holder, you can tailor it to your unique needs and preferences, all while saving money in the process. So why not take the plunge and embark on your own DIY rod holder project today?
Conclusion
In conclusion, DIY rod holder projects offer a practical and budget-friendly alternative to store-bought options. By following a step-by-step guide and considering your specific design and material preferences, you can create a rod holder that is both functional and personalized. So, whether you are an avid angler or a casual fishing enthusiast, consider diving into the world of DIY rod holder projects to save money while maximizing functionality.
Useful Resources:
For more information on DIY rod holder projects and fishing tips, check out the following resources: